Setting Up My Personal Malware Analysis Lab
In this article I’m going to set up my personal malware analysis lab. From setting up my VM to the tools I use, I’m sharing every detail.
Downloading VMware
First things first: downloading VMware. Back in the day I always used Oracle VirtualBox, but VMware has some advantages when it comes to malware development. Some malware tries to detect if it’s running inside a virtual machine, and VMware is a bit better at hiding that fact. The snapshots are also more stable and faster compared to VirtualBox.
To download VMware, go to the official website: https://www.vmware.com/. Head to downloads and create a Broadcom account. VMware is completely free for personal use.
Downloading a Windows ISO
After successfully installing VMware, you need to pick an operating system for your lab. I went with Windows 11, since most malware targets Windows. Go to https://www.microsoft.com/en-us/software-download/windows11 and download the ISO image. Make sure to select English International as the language. There are two reasons for this: first, you don’t want to give away hints about who you are, in case the malware establishes a connection and sends information to a C2 server, you want to expose as little about yourself as possible. Second, malware has checked the OS language in the past and refused to execute on certain locales. That’s not always the case today, but better safe than risking anything.
VMware Settings
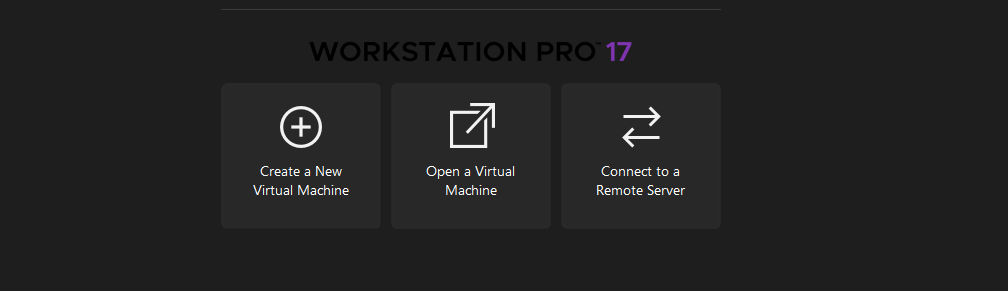
After downloading the ISO, create a new virtual machine by clicking Create a New Virtual Machine.
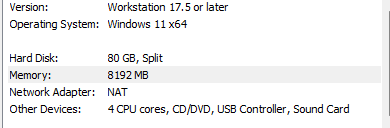
 Select your ISO and give the machine a name. Then choose your specs. I recommend at least 64GB of disk space, 6-8GB of memory, and 4 CPU cores.
Finally, start your VM and follow the Windows installation instructions. One important step before installation: disconnect the network adapter from the VM. Go to VM → Removable Devices → Network Adapter → Disconnect. This lets you skip the Microsoft account login during setup.
If you still get prompted to sign in despite having no internet, press Shift + F10 to open a CMD window and type:
OOBE\BYPASSNRO
The VM will restart, and this time you’ll see an option that says “I don’t have internet” — click it and create a local account instead.
Installing VMware Tools
After the Windows installation is done, one of the first things you should do is install VMware Tools. Without it, the VM runs noticeably slower and the display integration is poor. To install it, go to VM → Install VMware Tools in the VMware menu, then run the installer inside the VM and restart. You’ll immediately notice the difference.
Creating Snapshots
Snapshots are great. A snapshot is basically a point-in-time copy of a virtual machine that captures its state (powered on, off, or suspended), its data, and its configuration. You can create one in VMware by clicking VM → Snapshot → Create a Snapshot.
I recommend creating a snapshot right now while the VM is completely fresh, so you can always roll back to a clean state if the VM gets infected. Create another snapshot after installing all your tools, so you don’t have to reinstall everything from scratch.
Sandbox Escapes (scary)
One of the scariest concepts in malware analysis is sandbox escapes. This mean malware can break out of the virtual machine and infects your actual PC. That said, sandbox escapes are very rare and usually involve zero-days, so don’t panic. Here are a few things you can do to reduce the risk further:
- Disable drag and drop and clipboard sharing between host and VM (called Guest Isolation). In VMware:
VM → Settings → Options → Guest Isolation. - Switch from NAT to Host-Only networking. This prevents malware from reaching the internet through your host. The downside is that you lose network access for dynamic analysis, so switch back when needed.
- Keep VMware up to date. Escape vulnerabilities get patched quickly, so keeping an eye on new updates helps.
Tools
Here are some tools I recommend installing. Use whatever fits your workflow:
Disassemblers / Debuggers
- x64dbg
- WinDbg
- Ghidra
- IDA (free version, or Pro if you have access)
Process Tools
- System Informer (formerly known as Process Hacker)
- Process Explorer
Network Tools
- Wireshark
PE Tools
- PE-bear
- PE Explorer
Other
- HxD
- FLOSS (by Mandiant. Extracts strings from binaries, including obfuscated ones)
After installing everything, create another snapshot. Also consider disabling antivirus inside the VM, it can delete your malware samples or notes if they match known signatures. Now your good to go.